Tuesday, December 4, 2012

Grandma Colleen's Creamy Christmas Candy

How exciting! Grandma Colleen, one of our favorites, is now 84 years old.  At the age of 81 she recorded what she has been doing every Christmas for over 50 years which is making home-made, old-fashioned Christmas candy.  It has become not only a family tradition, but a community project. She has not only shared her candy with friends and neighbors but often has requests for her to make for purchase.  She just never had the money to start her own franchise or she would have been famous!

This DVD is a little on the home-made side similar to her candy. Sound quality is not professional, yet the recipes are right there on the screen. Well worth the investment! 

 It started with her daughters wanting to preserve her recipes and wanted an actual video of her making it as a keepsake for future generations.  Maybe your Grandma was a lot like Grandma Colleen. Their recipes were more a "pinch of this" and "a pinch of that" and often hard to duplicate.  This DVD captures her making her candy step-by-step.  You are able to see her, the ingredients, the pans and her methods as if she were there personally teaching you in her kitchen. We are pre-launching her DVD as we are getting so close to Christmas and her website is not yet complete for this year.  We are allowing you to leave an email and the minute it becomes available, we can send you the link.

Sunday, November 11, 2012

The Thankful Tree

I wanted to share a fun tutorial with you.  This is a new idea I saw at a local craft store here in Utah and wanted to make one for my family.  I would love to hear your ideas of how you would use this with grandchildren/children in your family.  Here is the tutorial:


Step 1:  Gather supplies.  I purchased the kit from the craft store which included the wood, the hearts, the vinyl letter and the brown wired ribbon.

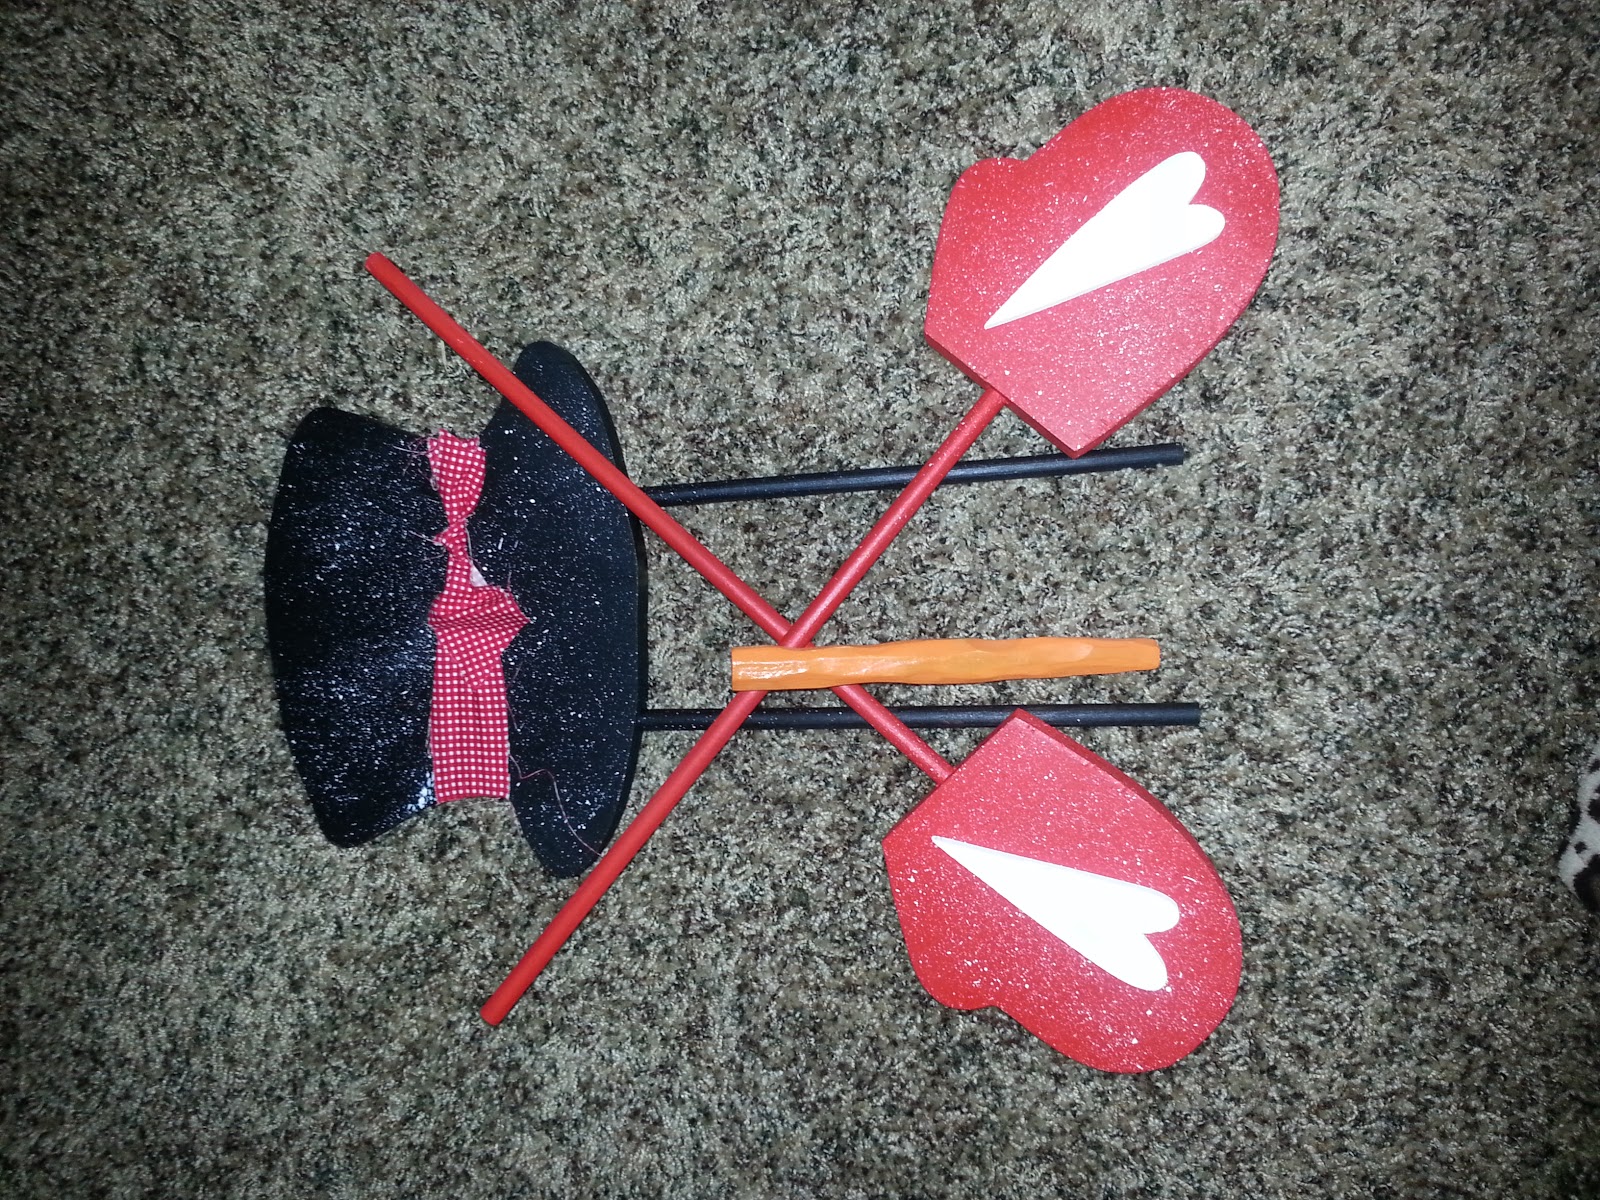
Step 2:  I sanded the edges with a fine sand paper and then dusted off with microfiber cloth to get remaining residue of sanded wood.  I gathered my supplies which included; spray adhesive, candy bar brown acrylic tole paint, black cherry acrylic tole paint, silver glitter spray, clear acrylic matte finish spray, brushes (hammer, nails, pencil and scissors not shown).

Step 3:  I pained the branches on both sides with the candy bar brown paint. I  painted the two hearts with the black cherry. After drying completely, I sprayed the hearts lightly with the silver glitter spray.
After all the wood pieces had dried thoroughly, I sprayed then with the matte finishing spray to both sides and allowed them to dry for several hours.

Next, I traced the shape of the tree onto the scrapbook paper I had chosen to represent the foliage of the tree. I traced on the opposite side of the paper. (This happens to be scrapbook paper which has designs on both sides.  After tracing, I cut the paper carefully with my favorite sharp scrapbooking scissors.


Step 4:  Before applying scrapbook paper to the fullness of the tree, attach the wood part of the tree to the branches with small finishing nails.  This wood kit already had the nail holes made which make it easy to see that it needed to be attached before the scrapbook paper was glued on.  By doing this, the scrapbook paper will cover up the finishing nails on the front side of the tree.


Step 5: Attach the scrapbook paper to the tree using the spray adhesive.  You can either spray the wood itself, the scrapbook paper or both.  This spray adhesive sticks quickly so make sure you are very careful at positioning it to match the wood and that you lay it down carefully.  It will grab the wood and be very hard to reposition.

Step 6:  Take your viny letter and flip over to the back side (words will be backwards). Take a credit card and rub the edge of the card along the vinyl letter so that the letter will stick to the sticky side of the vinyl lettering paper.

Step 7:  Peel back the backing of the viny lettering very slowly and at an angle to avoid lettering from sticking to the back of the paper.  You want your lettering to stick together onto the front of the vinyl paper.


Step 8:  Position the vinyl lettering onto the front of the free where you feel you it would look best and still allow for room to position your "gratitude leaves".  Use the credit card to attach the viny lettering to your tree.  Rub each letter with your finger tips to make sure that the lettering is sticking to your scrapbook paper.


Step 9:  Pull the paper from the vinyl lettering again slowly and at an angle to ensure that the lettering is sticking to your tree and scrapbook paper.


Step 10:  Tie the bow at the base of the tree.


Step 11: Glue on heart at the top of the tree in a position that you feel looks best and allows for your "gratitude leaves". Trace leaves of various colors of scrapbook/construction paper for the "gratitude leaves".  I gave the a little bend and attached with double sided tape to give a 3-D effect.


Step 12: Each day your family can write on a leaf what they are thankful for. I am also attaching a picture of the wood the way the craft store made their display.  I changed mine to fit the fall colors.  I also attached the branches to the back of the tree to allow for more space to attach the leaves.  If I were to do it over, I would probably do the branches in the front like the display.  This would allow for more of a 3-D effect with the branches.


What are your ideas for utilizing this darling wood project with  your family? Please share your ideas with us!

Wednesday, October 31, 2012

Happy Halloween 2012

I promised to not continue to share pictures of my grandbugs over and over.  I promise to limit the pictures so I will only post a couple more of Halloween and try to keep it to the holidays!

Here is Hadli Bug! And here are Laikynn and Titan (in Titan's word a fireman and his dog).


Would love to see posts of your grandbugs?  Feel free to comment or post pictures here to our Facebook Fan Page.

Sunday, October 28, 2012

We Never Run Out of Kisses or Candy

Halloween is definitely a holiday for kids. As a child I loved to dress up and as an adult I have loved dressing my children as well as seeing the neighborhood kids in their parade of costumes year after year. 

I would have to say that it is to even more fun than I can imagine to watch your grandbugs in their costumes.  Reason= watching the kids AND watching your kids watch their kids.  It's just a fun time.

I will probably dress up more when the kids are a little older.  For this year I chose this cute little t-shrt that says, "Grandma's Never Run Out of Kisses or Candy".  Pick yours up today for $5.50 at your nearest Wal-Mart. Love it!

More pictures to follow as well as what my grandbugs will be receiving this year for Halloween!

Friday, October 26, 2012

Children Know Jesus

A grandmother from Herriman, UT shared this photo with me this week.  Her grandchildren had been over for a visit.  She was going about her normal routine around the house when she noticed something different on her table.  There stood the statue of Christ which was always in the same place.  However, something had changed.  It was a Hello Kitty Boo-Boo Band-aid that had been placed on the statue.  Yes, a child had seen the nail prints in the feet of the statue of Christ and wanted to "heal his wounds" with the best way she knew how...a band-aid. A sweet little four-year-old granddaughter named Pearl. What a tender gesture!

We think children do not understand the spiriutal things but they are filled with far more charity than the majority of adults.  They know Jesus.  Somehow I believe they have a little bit of memory left and especially the younger ones. 

The other thing that does a Grandparent's heart good is to know that these young spirits, our offspring too, are being spiritually fed by their parents, family members and teachers in Church.  It warms our heart to know that our values and teachings are being taught to the next generation and so on.  It is what these beautiful children will need in such a confused world.

Cheri leaves the band-aid on the statue as a memory of Pearl and a reminder of Christ's sacrifice for each of us.

Thursday, October 25, 2012

Let It Snow, Let it Snow!

I am not overly excited about the fact that it is the end of October and already it is snowing.  I love to worship the sun! However as long as I can stay inside rather than make my daily commute to Salt Lake City, UT to work, I will be fine.

As long as it is snowing, let's have some fun!  I am giving away one snowman kit on October 31, 2012.  For everyone that posts a message to this blog AND likes us on Facebook (if you haven't already) AND shares this blog link or the Facebook Fan page link for Grandma's Little Snugglebug by then...I will enter you into the drawing for this snowman kit.  Kids love it and you can use it year after year as long as you don't leave it out all winter long.  It has wooden pieces which have been painted and sprayed with polyurethane for weatherproofing. 

If you are interested in purchasing I have only 4 left.  They are $19.95 plus shipping (Total of $27.00).  They are memory makers and keepsakes to have at Grandma's house for those boring snow days. You can also make a comment below and it will be first come first serve. Leave me your contact email to arrange shipping and payment.


The kit include:  Fleece scarf (1), Black Top Hat (1), Carrot Nose (1), Buttons (3), Coal for Eyes (2), Mittens (2), and coal for the mouth (5).  The also come in various colors.


Next, bring those kids inside for some hot chocolate and marshmellows.  Lastly, snuggle up and read a few story books together.  That's my idea of a perfect snow day!


Wednesday, October 24, 2012

Fall Leaves with the GrandKids/Kids

I love this fun idea to get the grandkids/kids active while the leaves are still falling and before the snow flies. 

Some of my greatest memories with my mom were our walks together. Nothing really special about what we did.  Sometimes we simply walked and other times we had a rock kicking contest.  Didn't take an ounce of money but it did take some of her time and attention.  That is what kids crave most! I also believe it is the simple things in life that children will remember. 

Follow this tutorial from one of my favorite bloggers "HowDoesShe.com".  Looks like a fun memory to take a camera along with you as well as a picture of the finished product for the scrapbooks. Here is the link

http://www.howdoesshe.com/autumn-tree-door/